Setup
2018-04-02 Leave a comment
This is a continuation on the series where we walk through creating an Angular, DotNet Core microservice project.
Download links for the software mentioned in this post will be available at the bottom, although this will not be maintained.
How you choose to setup your development machine will differ depending on which platform you intend to develop on (Windows, Linux or OSX). I am going to be using Windows 10 Pro for my development machine, however, I will attempt to include steps/scripts for following the same steps on a Debian Linux box, and eventually OSX, where applicable.
You may wonder why I don’t just stick to using Windows or Debian, well that is a good question. The answer is that I am going to target one or more Debian instances later on; building up some knowledge for both might be beneficial later on.
Update your OS
Whether you are using Windows or Linux etc. you will want to make sure that your machine is up-to date with the latest stable release. This is to ensure that any security exploits that may be out there do not affect you when downloading setup files etc. from the internet.
In Windows:
Go to “Settings”, “Update & Security” and click on “Check for updates”. Your machine should then check for updates and inform you of the steps involved to obtain and install them. If you are on a corporate network this may be controlled by your local IT team.
On Debian:
Run the following command:
$ sudo apt-get update && apt-get upgrade
This will update the package lists and ask if you want to install the available updates.
Install development applications
Here is the Manual process to download and install the following applications, I have included a Windows Batch/PowerShell script which will automate some of the process for you.
Visual Studio Code
Visit https://code.visualstudio.com/ and click on the “Download for Windows” link.
I’m going to select all of the options, as I am using a clean machine. You may want to customize depending on your existing setup.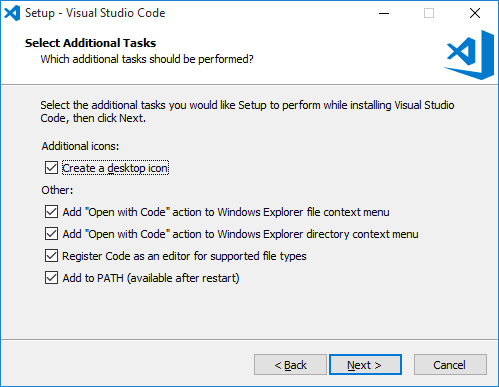
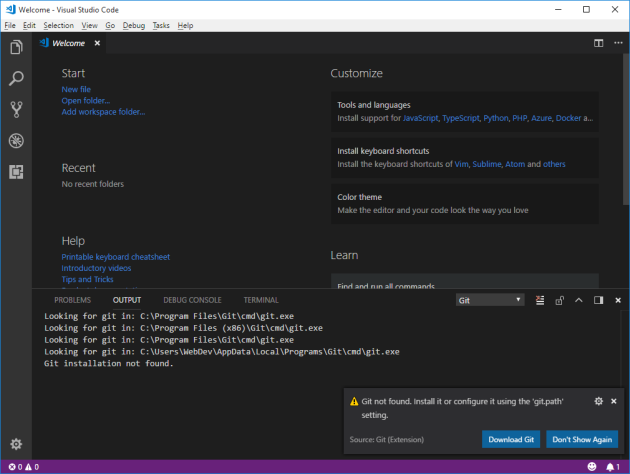
VS Code will prompt you to download and install Git, if it’s not already installed, we’ve already downloaded Git so you can ignore this message.
Git
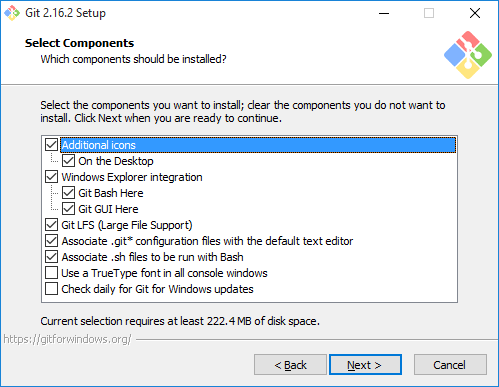
Visit https://git-scm.com/download/win download the latest version, alternatively just use the following download link https://github.com/git-for-windows/git/releases/download/v2.16.2.windows.1/Git-2.16.2-64-bit.exe (as of March 2018).
Once the file has downloaded run the executable to install Git.
If VS Code isn’t already installed, you won’t be able to select the Use Visual Studio Code option.
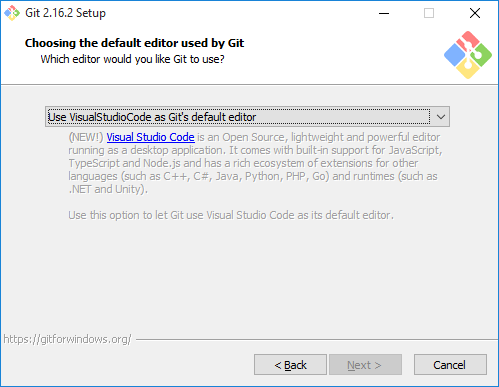
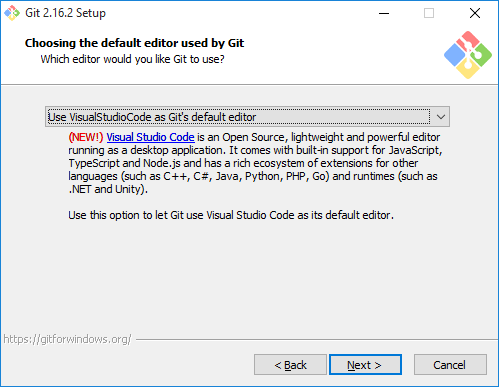
When VS Code is installed you can select this option and proceed.
Select Unix-style line endings, this makes things a lot easier when working with the Debian instances later.

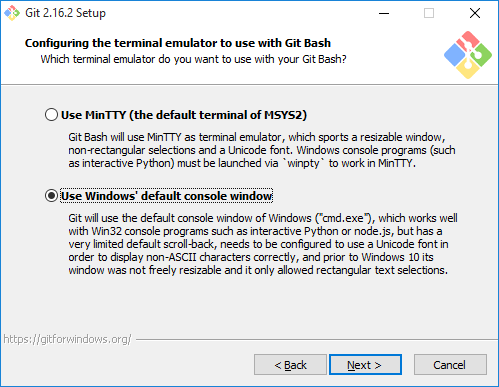
I’m going to select the Windows default console window, mostly because I’m old fashioned also because it works with NodeJS.
7Zip
If you want to build OpenSSL manually I would recommend installing 7Zip. It is generally quite useful for use with Zip archives and a good alternative to the built in Windows functionality.
Visit http://www.7-zip.org and download the latest version, alternatively use the link below.
Once downloaded run the executable (.exe).
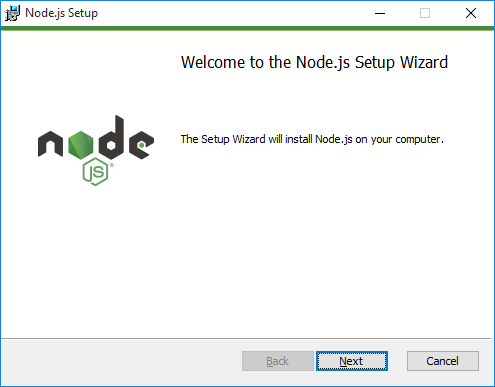
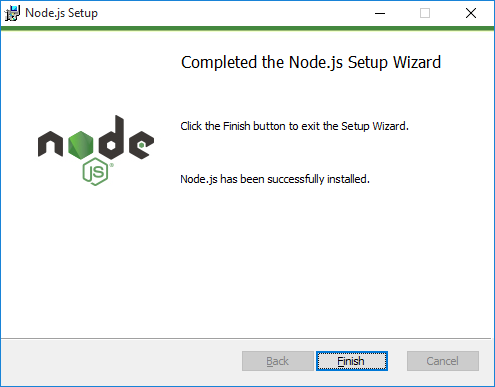
Node
Visit https://nodejs.org and download the latest version, alternatively use the link below.
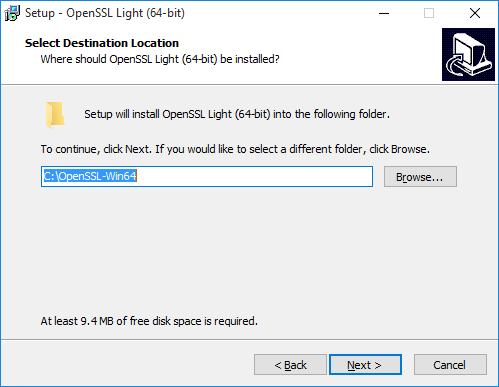
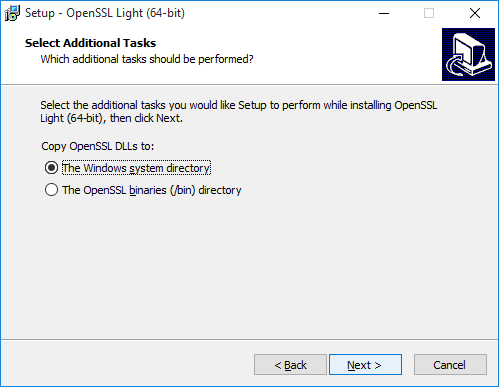
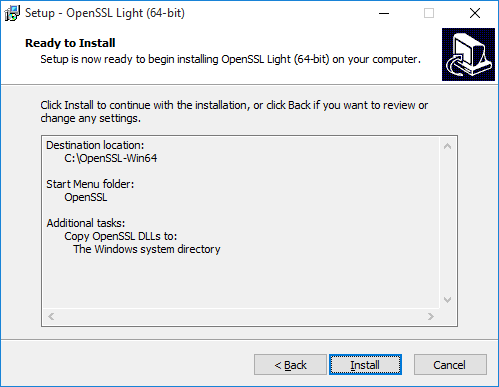
OpenSSL
Visit https://slproweb.com/products/Win32OpenSSL.html and download the light/standard version of OpenSSL.
Once downloaded run the executable (.exe).
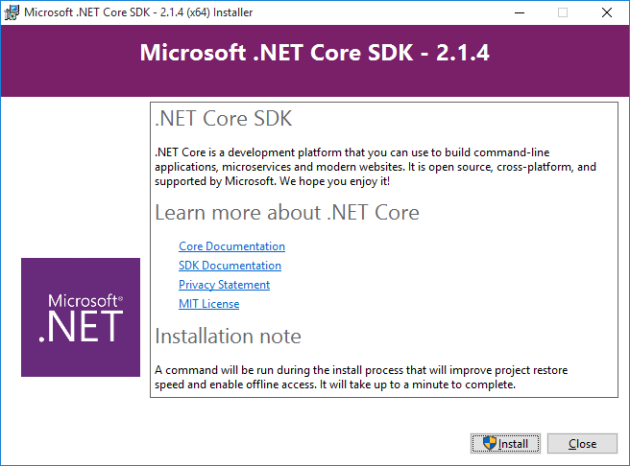
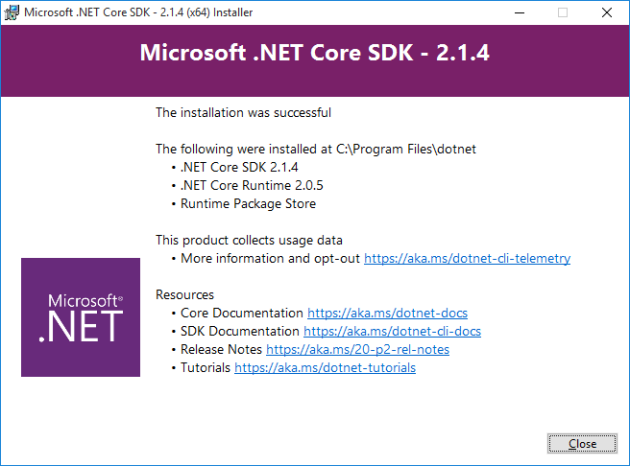
DotNet Core SDK
As we’re going to be building some dotnet Core WebAPI applications we are going to require the dotnet Core SDK.
Visit https://www.microsoft.com/net/learn/get-started/windows and click on the “Download .NET SDK” link.
Once downloaded run the executable (.exe)
nGinx
Visit http://nginx.org/en/download.html and download the latest Zipped version.
Don’t do anything with the file yet, we will need it later.
PHP
Visit https://windows.php.net/download#php-7.2 and download the latest VC15 x64 Thread Safe version of the Zip file.
On my machine I have downloaded the Zip archive from https://windows.php.net/downloads/releases/php-7.2.3-Win32-VC15-x64.zip
Don’t do anything with the file yet, we will extract it later.
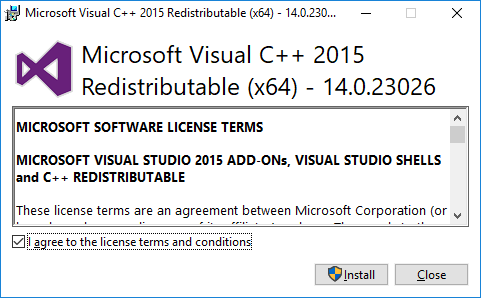
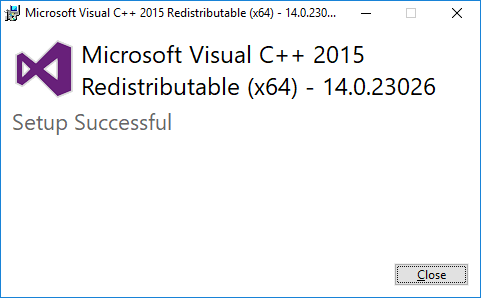
Visual C++ Runtime 64bit
We need to this runtime in order to use PHP, as Fast CGI depends on it.
You can download this from https://www.microsoft.com/en-GB/download/details.aspx?id=48145, make sure you download the 64bit version.
OK, that’s it for now. The next step is to create our project folders.
Download links:
- Git – https://github.com/git-for-windows/git/releases/download/v2.16.2.windows.1/Git-2.16.2-64-bit.exe
- 7Zip – http://www.7-zip.org/a/7z1801.exe
- Node – https://nodejs.org/dist/v8.9.4/node-v8.9.4-x64.msi
- OpenSSL – https://slproweb.com/download/Win32OpenSSL_Light-1_1_0g.exe
- DotNet Core SDK – https://download.microsoft.com/download/1/1/5/115B762D-2B41-4AF3-9A63-92D9680B9409/dotnet-sdk-2.1.4-win-x64.exe
- VSCode – https://go.microsoft.com/fwlink/?Linkid=852157
- nGinx – http://nginx.org/download/nginx-1.13.9.zip
- PHP – https://windows.php.net/downloads/releases/php-7.2.3-Win32-VC15-x64.zip
- VC Runtime – https://download.microsoft.com/download/9/3/F/93FCF1E7-E6A4-478B-96E7-D4B285925B00/vc_redist.x64.exe


